Introduction
Transitioning from an iPod to an iPhone symbolizes embracing newer technology. Yet, this switch often comes with the challenge of transferring your treasured music library. Fortunately, Apple and external providers offer several solutions to simplify this task. Whether you lean towards Apple’s proprietary methods or opt for third-party tools, there is an adaptable strategy waiting for you here. This guide will explore various methods to transfer your music collection, ensuring you don’t miss a single tune.
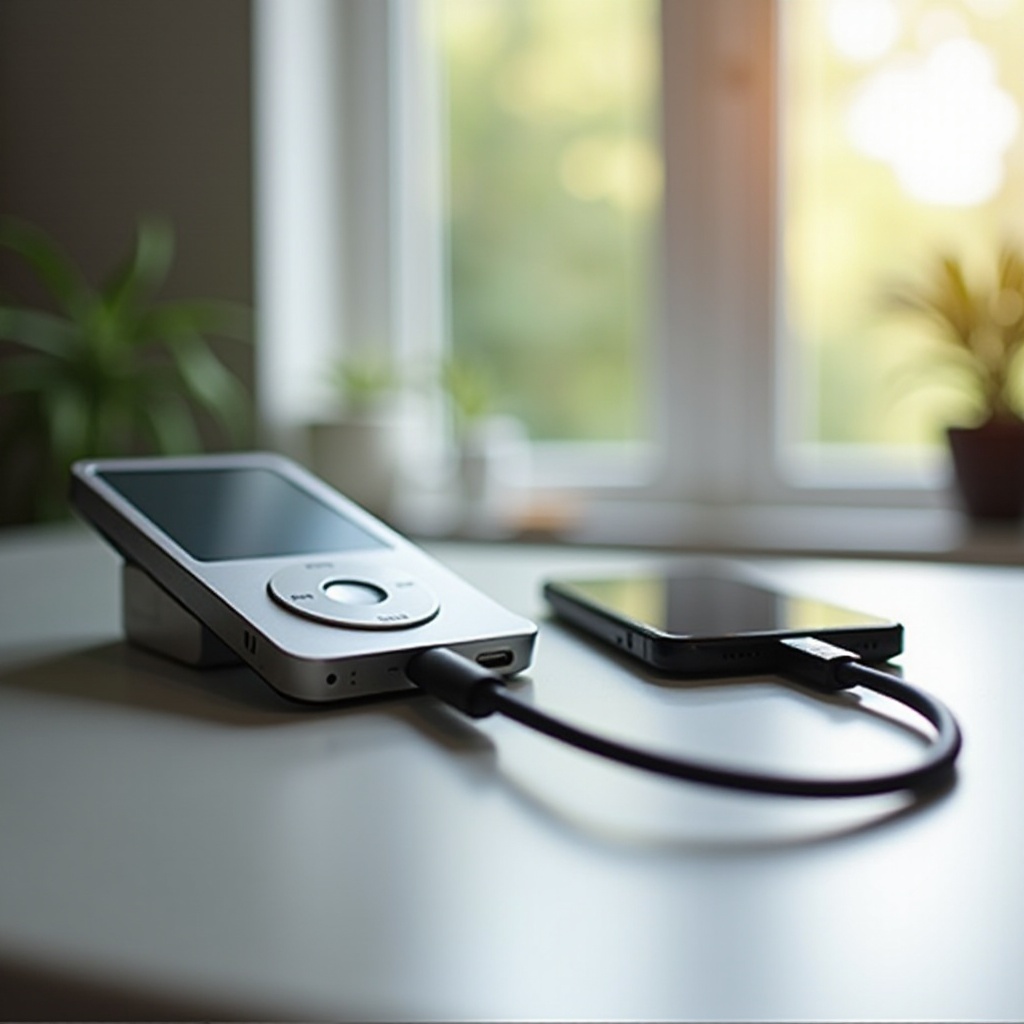
Method 1: Transferring Music Using iTunes
iTunes remains one of the most popular options for media management among Apple users. It effectively bridges various Apple devices, facilitating music transfer easily. Let’s delve into how you can utilize iTunes for this purpose.
- Install iTunes: If you haven’t already, download and install the latest version of iTunes on your computer.
- Connect Your iPod: Using a USB cable, connect your iPod to your computer, allowing iTunes to detect the device.
- Sync Your Music: With the iPod recognized, go to ‘Devices’ within iTunes and select your iPod. Click ‘Transfer Purchases’ from the File menu to shift all music to your iTunes library.
- Connect Your iPhone: Disconnect the iPod and instead attach your iPhone to the computer via USB.
- Sync Music to iPhone: Under ‘Devices,’ select your iPhone, switch to the ‘Music’ tab, and choose ‘Sync Music.’ Opt to either sync your complete library or specify selected playlists, artists, or albums.
- Apply Settings: Click ‘Apply,’ initiating the sync process. Once completed, your iPhone will reflect the iPod’s music content.
Now, let’s step into Apple’s integrated cloud services, which provide a seamless music synchronization experience without relying on physical connections.
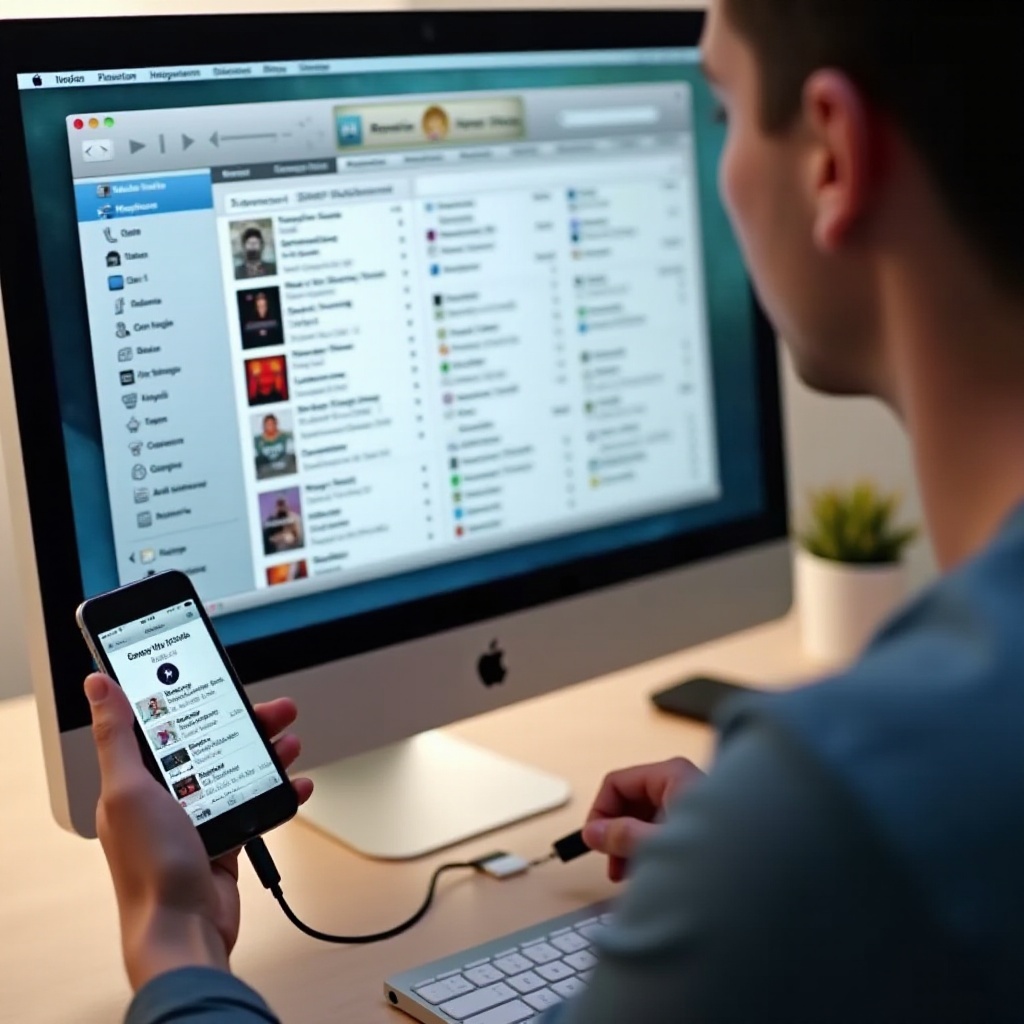
Method 2: Syncing Music with Apple Music and iCloud
Apple Music and iCloud deliver wireless solutions, enhancing music accessibility across devices. While these require subscriptions, they offer a simplified music management approach.
- Apple Music Subscription: Ensure your Apple Music subscription remains active and synchronized on both your iPod and iPhone.
- Enable iCloud Music Library: On your iPod, navigate to Settings > Music, and enable ‘iCloud Music Library’ to upload your collection to the cloud.
- Access on iPhone: Repeat this setup on your iPhone to access the iCloud-based music library. After syncing with the cloud, your music should be readily available on your iPhone.
Embracing Apple’s ecosystem can significantly simplify your music management, promoting continuous access in almost any setting. Now, let’s explore third-party applications, which offer alternative options for music transfer.
Method 3: Utilizing Third-Party Software Solutions
Some users prefer alternatives to Apple’s offerings, particularly third-party software solutions that enhance flexibility.
- Choose Reliable Software: Select software like AnyTrans, iMazing, or WALTR, known for user-friendly interfaces and robust functionalities.
- Install Software: Download the chosen tool on your computer and install it.
- Connect Devices: Simultaneously connect your iPod and iPhone to the computer using USB cables.
- Initiate Transfer: Launch the software and follow on-screen prompts to facilitate the music transfer. Most programs streamline the process with minimal user intervention.
These applications can also add bonus features like media conversion and comprehensive data backup, enhancing the overall experience during and after the transfer process.
Extra Tips for Managing Your Music Library
For a smooth process and optimal music enjoyment, it’s beneficial to keep your music library well-organized.
- Keep Backups: Regularly back up your music either to an external drive or a cloud service, keeping your collection secure.
- Organize by Playlists: Curate playlists based on mood or occasion, which proves handy during selective syncs.
- Check for Duplicates: Scour your iTunes or other music libraries for duplicates before transferring, reducing clutter.
- Metadata Consistency: Ensure metadata such as artist or album names remain consistent to avoid disorganization.
Following these practices will elevate your music experience, ensuring seamless transfers and a well-ordered library.

Conclusion
Transferring music from an iPod to an iPhone is straightforward when using the right tools. With options like iTunes, Apple Music, or trusted third-party solutions, you can find a method that suits your preference. Adopting these strategies guarantees that your music transition will be smooth and your iPhone will be loaded with all your favorite tracks, ready to accompany you wherever you go.
Frequently Asked Questions
Can I transfer music from iPod to iPhone without using a computer?
Yes, leveraging Apple Music and iCloud simplifies the process. By subscribing to Apple Music and enabling iCloud Music Library on both devices, you can sync your music wirelessly without a computer.
Is it possible to retain playlists when transferring music?
Indeed, using iTunes, you can directly sync selected playlists. Apple Music stores playlists in the cloud, making them accessible across devices, while third-party tools often include playlist transfer features as well.
What should I do if I encounter errors during the transfer process?
First, ensure all software, such as iTunes or third-party applications, is updated or restarted. Check USB connections if transferring via cable. For specific errors, consulting help resources like the software support pages or Apple Support is advised.