Introduction
Discover the perfect way to declutter your desktop without the hassle. If you’re tired of your desktop icons taking up too much space or you just prefer a more minimalist look, understanding how to quickly adjust your icon size can be extremely helpful. Using keyboard shortcuts is a faster and more efficient way to achieve this. This article will guide you through the process and much more.
Why Adjusting Icon Size is Important
Resizing desktop icons goes beyond mere aesthetics; it plays a crucial role in organization and productivity. Smaller icons can make your desktop look less cluttered, allowing you to focus more on essential tasks. Furthermore, adjusting icon size can offer more space for additional shortcuts, making it easier to navigate through various applications. Whether you’re using a low-resolution monitor or a 4K display, customizing icon sizes ensures that you have a comfortable and visually pleasing working environment.
Beyond aesthetics, proper icon management contributes significantly to accessibility. For users who struggle with visual impairments, larger icons can make interaction more straightforward. Conversely, tech enthusiasts and developers may prefer smaller icons to fit more items on their screen real estate, enhancing multitasking capabilities.
Traditional Methods for Resizing Desktop Icons
Before diving into the world of keyboard shortcuts, it’s important to understand the traditional methods for resizing desktop icons.
- Windows:
- Right-click on any empty spot on your desktop.
- Select ‘View’ from the context menu.
-
Choose between ‘Large icons,’ ‘Medium icons,’ or ‘Small icons’ based on your preference.
-
macOS:
- Right-click on an empty spot on your desktop.
- Select ‘Show View Options.
- Use the ‘Icon Size’ slider to adjust the icon size as per your needs.
These traditional methods are simple and efficient, especially if you’re not in a rush. However, they might not be the fastest way, particularly for users who seek instant results.
Keyboard Shortcuts for Icon Size Adjustment
Keyboard shortcuts provide an efficient way to resize your desktop icons. They offer a quick solution, perfect for those who frequently adjust their workspace to suit different tasks.
General Shortcut Instructions (Windows & macOS)
The shortcuts might differ slightly between Windows and macOS, but the concept remains the same: use the keyboard in combination with the mouse to achieve the desired icon size.
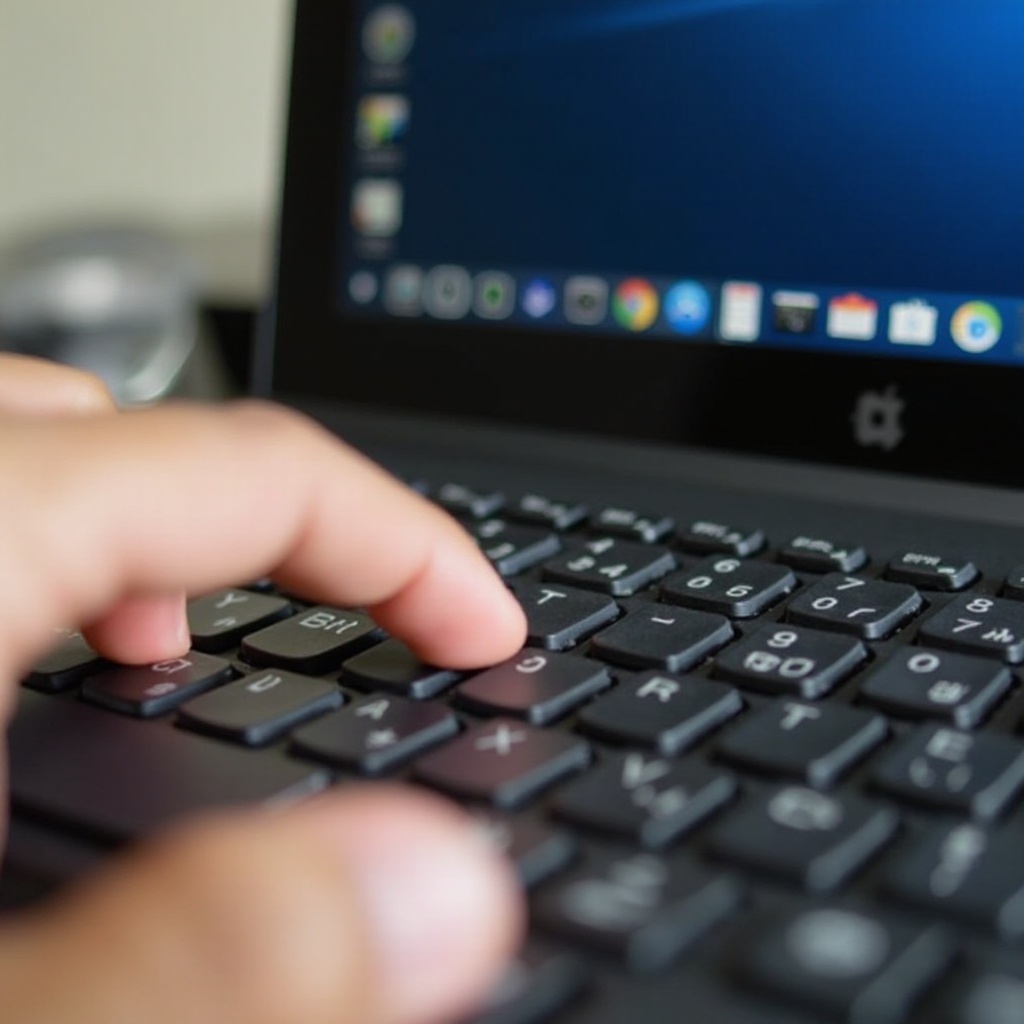
Detailed Steps for Windows
- Using the Mouse Wheel:
- Click on an empty space on your desktop to ensure it’s active.
- Hold down the ‘Ctrl’ key on your keyboard.
-
While holding the ‘Ctrl’ key, scroll up to make icons larger and scroll down to make them smaller.
-
Using Keyboard Shortcuts Alone:
- Click on an empty space on your desktop.
- Press and hold ‘Ctrl’ + ‘Shift’ + ‘1’ to get large icons.
- Press and hold ‘Ctrl’ + ‘Shift’ + ‘2’ for medium icons.
- Press and hold ‘Ctrl’ + ‘Shift’ + ‘3’ for small icons.
Detailed Steps for macOS
- Using Trackpad Gestures:
- Click on an empty space on your desktop to make it active.
-
Pinch open or close on the trackpad to adjust the icon size.
-
Using Keyboard Shortcuts:
- Select the desktop by clicking on it.
- Press and hold ‘Command’ + ‘J’ to open ‘View Options.
- Use ‘Tab’ to navigate to the ‘Icon Size’ slider.
- Use the left and right arrow keys to adjust the size.
To enhance your desktop experience, understanding and using keyboard shortcuts for icon adjustments isn’t the end. Exploring additional customization options can lead to a more personalized and efficient workspace.
Troubleshooting Common Issues with Shortcuts
Occasionally, you might encounter problems while using keyboard shortcuts for resizing desktop icons. Here are some common issues and their solutions:
- Shortcuts Not Working:
- Ensure that your desktop is active by clicking on an empty space.
-
Check if any other application is interfering with the shortcut. Close unnecessary applications and try again.
-
Icon Size Doesn’t Change:
- Restore your computer’s default settings.
- Check for any active desktop customization software that might be overriding your settings.
By understanding these fundamental steps and solutions, you can efficiently manage the appearance of your desktop without any frustrations.
Additional Desktop Customization Tips
Adjusting icon size is just one aspect of creating an efficient desktop environment. To truly master desktop customization, consider additional tips such as organizing and grouping icons and using third-party applications.
Organizing and Grouping Icons
- Create Folders:
- Right-click on your desktop and select ‘New’ followed by ‘Folder.
-
Name your folder and drag relevant icons into it.
-
Align and Arrange Icons:
- Right-click on the desktop.
- Select ‘Sort by’ and choose your preferred option (e.g., Name, Date Modified).
Using Third-Party Applications
- Fences (Windows):
-
This application allows you to create shaded areas on your desktop where you can group icons.
-
Desktop Groups (macOS):
- Helps in organizing files and folders into groups, thereby keeping your desktop tidy.
Employing these strategies will help keep your workspace organized and your mind focused on the tasks at hand.
Conclusion
Understanding how to adjust the size of your desktop icons through keyboard shortcuts can significantly streamline your workflow. This knowledge helps you maintain an uncluttered and visually appealing desktop, crucial for productivity and comfort. Start implementing these tips today to optimize your workspace efficiently.
Frequently Asked Questions
What should I do if the keyboard shortcuts don’t work?
Ensure your desktop is active and no application interferes with the shortcut. If issues persist, reset your default settings.
Are there any third-party applications that help with desktop icon management?
Yes, applications like ‘Fences’ for Windows and ‘Desktop Groups’ for macOS can enhance desktop organization and icon management.
Can I set different icon sizes for multiple monitors?
Currently, most operating systems don’t support different icon sizes for multiple monitors by default. You may need third-party software to achieve this functionality.