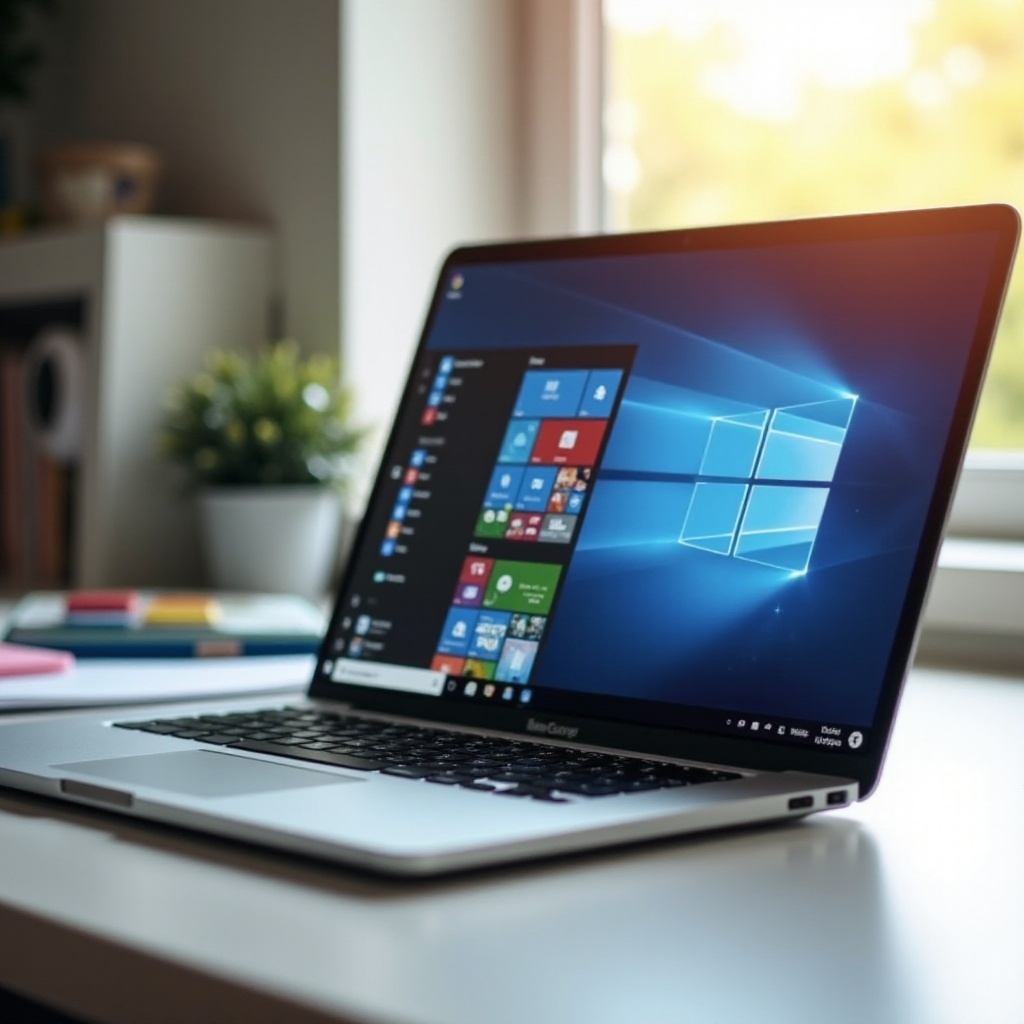
Introduction
Experiencing slow performance on your Windows 11 laptop can be frustrating. As software and files accumulate, your device may not run as smoothly as it once did. Fortunately, there are several effective methods to enhance your laptop’s speed and efficiency without the need for advanced technical skills. In this guide, we’ll explore practical solutions to help you restore your laptop’s performance. We’ll cover everything from cleaning up your hard drive to upgrading to an SSD. By implementing these strategies, you can speed up your Windows 11 laptop and enjoy a more responsive computing experience.
Clean Up Your Hard Drive
A cluttered hard drive can significantly affect your laptop’s performance.
- Delete Unnecessary Files: Begin by removing files you no longer need, such as old documents, downloads, and duplicates.
- Uninstall Unused Programs: Open the Control Panel and navigate to ‘Programs and Features’ to uninstall applications you no longer use.
- Empty Your Recycle Bin: Make sure to permanently delete the files you’ve moved to the Recycle Bin to free up space.
Regularly cleaning up your hard drive not only creates more storage space but also helps your system retrieve and manage files more efficiently. Transitioning to maintaining your startup programs can also provide significant speed improvements.
Disable Unnecessary Startup Programs
When you start your laptop, several programs may launch automatically, which can slow down your system’s boot time.
- Open Task Manager: Right-click the taskbar and select ‘Task Manager.
- Navigate to Startup Tab: In the Task Manager, go to the ‘Startup’ tab.
- Disable Unnecessary Programs: Here, you can disable programs that you don’t need to launch during startup by right-clicking on them and selecting ‘Disable.
By managing and reducing your startup programs, your system can boot faster and operate more smoothly right from the start. Sometimes, however, system performance may demand upgrading hardware components such as RAM.
Upgrade Your RAM
Random Access Memory (RAM) plays a crucial role in your computer’s ability to run multiple applications smoothly. More RAM can result in better performance.
- Check Current RAM: To see how much RAM you have, go to ‘Settings,’ then ‘System,’ and click ‘About.
- Identify Compatible RAM: Ensure you purchase RAM compatible with your laptop’s specifications.
- Install the RAM: Follow your laptop’s manual to safely install the new RAM modules.
Increasing your RAM permits more data to be processed simultaneously, thus improving multitasking capabilities, which complements other maintenance practices like disk cleanup and defragmentation.
Use Disk Cleanup and Defragmentation
Over time, files become fragmented and scattered across your hard drive, making it slower to access and execute files.
- Run Disk Cleanup:
- Search for ‘Disk Cleanup’ in the Start menu.
-
Select the drive you wish to clean and follow the prompts to remove unnecessary files.
-
Use Disk Defragmenter:
- Search for ‘Defragment and Optimize Drives.
- Select the drive to be analyzed and optimized.
Performing regular disk cleanup and defragmentation ensures that your files are stored in a contiguous manner, reducing read/write times and aiding overall performance. It’s equally important to safeguard your system from malware and viruses.
Check for Malware and Viruses
Malware and viruses can significantly compromise your laptop’s speed and security.
- Install a Good Antivirus: Choose recommended antivirus software and perform regular full system scans.
- Utilize Windows Defender: Ensure Windows Defender is up-to-date and conduct periodic quick and full scans.
- Remove Threats: Follow the antivirus software instructions to remove detected threats.
By keeping your system free from malware, you prevent harmful programs from consuming resources and bandwidth. Post-security measures, optimizing system settings provides another layer of performance enhancement.
Optimize System Settings
Adjusting your system settings for performance instead of appearance can yield noticeable improvements.
- Open Advanced Settings:
- Right-click ‘This PC’ and go to ‘Properties.
-
Select ‘Advanced system settings.
-
Adjust Performance Settings:
-
Under the ‘Performance’ section, click ‘Settings’ and choose ‘Adjust for best performance.
-
Manage Power Settings:
- Navigate to ‘Settings’ > ‘System’ > ‘Power & sleep’ and select a high-performance plan.
Optimizing these settings prioritizes system resources for speed and functionality, aiding in quick and responsive operations. Moreover, adjusting visual effects further reduces unnecessary resource consumption.
Disable Visual Effects
Visual effects can consume significant system resources.
- Access Performance Options:
- Search for ‘Performance Options’ in the Start menu.
-
Open and select ‘Adjust for best performance.
-
Customize Visual Effects:
- You can choose to disable specific effects rather than all, based on preference.
- Click ‘Apply’ to enact changes.
By reducing visual effects, your system allocates more resources to essential tasks, improving speed and responsiveness. Continuously updating drivers and system software ensures these optimizations are supported.
Update Drivers and System Software
Outdated drivers and system software can hinder performance.
- Update Windows:
- Go to ‘Settings’ > ‘Update & Security’ > ‘Windows Update’ and click ‘Check for updates.
- Update Drivers:
-
Navigate to ‘Device Manager,’ right-click on devices, and select ‘Update driver.
-
Use Manufacturer Tools:
- Utilize software provided by device manufacturers for updates.
Regularly updating software ensures compatibility with newer applications and mitigates potential system conflicts. Furthermore, contemplating an SSD upgrade can bring dramatic speed improvements.
Consider an SSD Upgrade
Switching from a traditional hard drive to a Solid State Drive (SSD) can exponentially speed up your laptop.
- Choose the Right SSD: Ensure the SSD fits your laptop’s specifications.
- Backup Data: Backup your current data before proceeding with the installation.
- Install the SSD: Follow your laptop’s manual to install the SSD, or consult a professional if needed.
SSD upgrades reduce boot and load times significantly, making your overall experience faster and smoother. All of these steps cumulatively ensure a highly responsive system.
Conclusion
Speeding up your Windows 11 laptop involves a combination of hardware upgrades and system optimizations. Cleaning your hard drive, managing startup programs, upgrading RAM, and switching to an SSD are key steps. Additionally, routine maintenance through disk cleanup, defragmentation, and keeping your system malware-free ensures continuous performance improvements. By following these tips, you can transform a sluggish laptop into a fast and efficient tool for everyday use.
Frequently Asked Questions
Why is my Windows 11 laptop so slow?
A slow Windows 11 laptop could be due to several factors including a cluttered hard drive, too many startup programs, insufficient RAM, malware, or outdated drivers. Following optimization tips can help address these issues effectively.
How often should I defragment my hard drive?
It’s generally recommended to defragment your hard drive once a month. However, if you notice sluggish performance or frequently move large files, more frequent defragmentation may be beneficial.
Is it better to upgrade RAM or switch to an SSD?
Both upgrades offer significant performance improvements. Upgrading RAM enhances multitasking capabilities, while switching to an SSD dramatically increases boot and load times. For best results, consider both upgrades.