Introduction
Seeing the time on your MacBook down to the second can be more useful than you think. Whether you need more precise timekeeping for productivity, specific tasks, or personal preference, getting the clock on your MacBook to display seconds is a surprisingly easy task. Let’s explore why you might want to enable this feature and how you can do it with a few simple steps.

Why Display Seconds on Your MacBook Clock
There are several reasons you might want to see the seconds displayed on your MacBook clock:
- Precision: For tasks that require time tracking down to the second, such as timeboxing during work or recording precise timestamps.
- Aesthetics: Some people simply prefer the visual of a ticking clock.
- Productivity: Keeping track of seconds can help you stay more productive by being more mindful of how time passes.
- Technical Needs: Developers and analysts often need to know the exact time, down to the second, for specific processes or debugging.
Now that you know why having seconds displayed can be useful, let’s delve into the simple steps to make this happen through your system preferences.
Simple Steps to Show Seconds via System Preferences
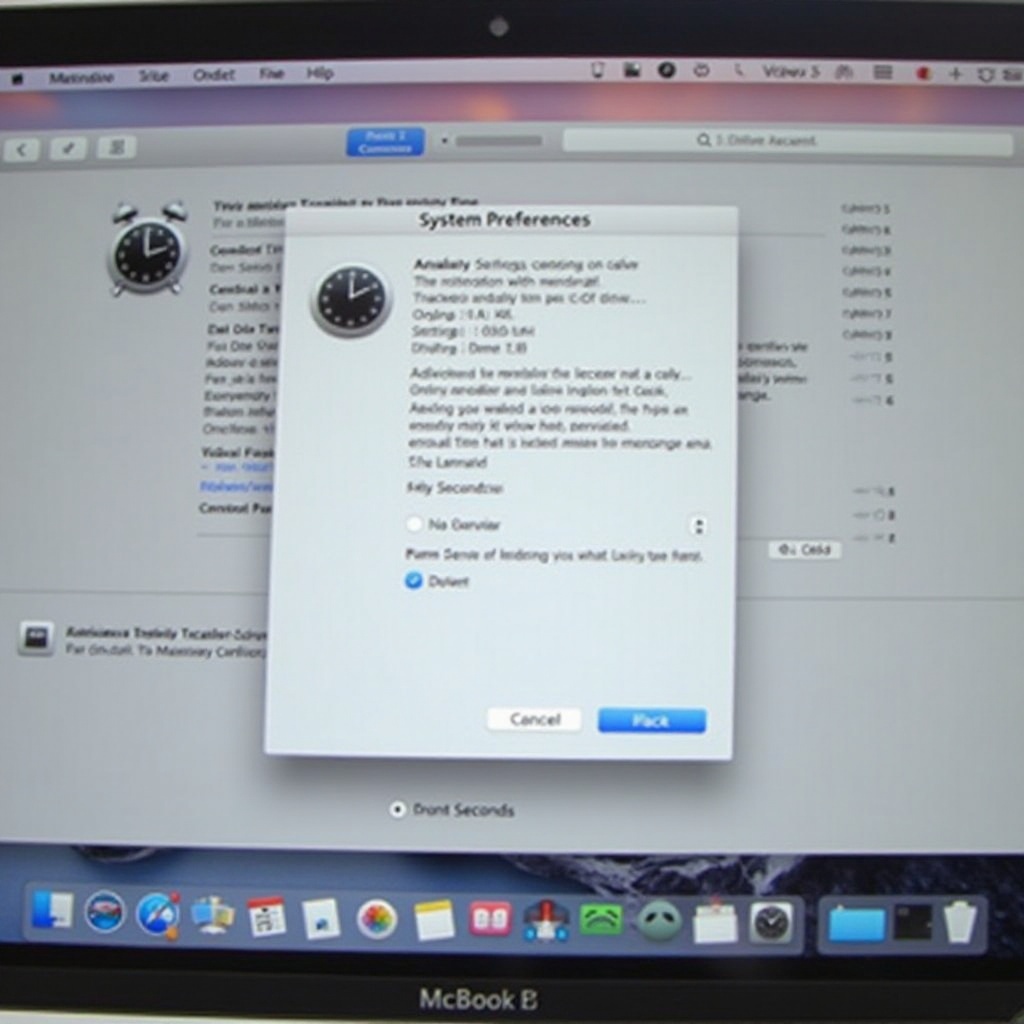
To enable the display of seconds on your MacBook clock through System Preferences, follow these straightforward steps:
- Open System Preferences: Click on the Apple logo at the top left corner of your screen and select ‘System Preferences’.
- Navigate to Date & Time: In the System Preferences window, locate and click on ‘Date & Time’. This will open the settings for your system’s date and time display.
- Unlock Changes: If the settings are locked, you will need to click the lock icon at the bottom left corner and enter your admin password to make changes.
- Show Clock Options: After unlocking, click on the ‘Clock’ tab. Here you can see various options on how the time is displayed on your menu bar.
- Select Digital Clock: Ensure the ‘Digital’ clock mode is selected.
- Enable Display of Seconds: You will see an option that says ‘Display the time with seconds’. Check this box to enable it.
Congratulations! You should now see seconds appearing in your menu bar clock. This process is quick and simple, but there’s another way – let’s look at using Terminal commands.

Using Terminal Commands to Enable Seconds Display
If you prefer using Terminal for a more hands-on approach, follow below to display seconds on your MacBook clock:
- Open Terminal: You can find Terminal through Spotlight search (Cmd + Space) by typing ‘Terminal’, or locate it in the Applications > Utilities folder.
- Enter the Command: Type the following command to enable seconds display and press Enter:
defaults write com.apple.menuextra.clock DateFormat -string 'HH:mm:ss - Restart SystemUIServer: For the changes to take effect, restart the SystemUIServer by entering the following command:
killall SystemUIServer
Your MacBook clock should now display seconds. This method is quick and efficient for those who are comfortable using Terminal and prefer command-line solutions.

Third-Party Applications for Enhanced Time Customization
For those who desire even more customization over how time is displayed on their MacBooks, third-party applications might be the answer. A few popular apps that offer advanced clock customization include:
- iStat Menus: This powerful application allows deep customization of your menu bar, including showing the time with seconds, among other system monitoring tools.
- Itsycal: A lightweight calendar app that sits in your menu bar. It includes options for displaying seconds in the clock.
- MenuWorldTime: If you need to track multiple time zones with seconds, this app is highly customizable and perfect for displaying different clocks in your menu bar.
These applications often provide additional functionalities and more aesthetically pleasing options for displaying time.
Troubleshooting Common Issues
Sometimes you may encounter issues while attempting to display seconds on your Mac’s clock. Here are a few troubleshooting tips:
- Changes Not Showing: Make sure you have administrative permissions to make these changes. Restarting your Mac can also help apply settings.
- Incorrect Time: Ensure your Mac is set to the correct time zone and is syncing automatically with time servers.
- SystemUIServer Restart: Always remember to restart the SystemUIServer after making changes using Terminal.
Conclusion
Displaying the time with seconds on your MacBook can be useful for various reasons, from simple personal preference to more precise time-tracking needs. Whether you prefer using System Preferences, Terminal commands, or third-party applications, altering your Mac clock to show seconds is not as complicated as it seems. By following these steps, you can easily customize your MacBook’s time display to suit your needs perfectly.
Frequently Asked Questions
How do I show seconds on my MacBook’s menu bar clock?
To display seconds on your MacBook’s menu bar clock, you can either use the System Preferences method or enter specific Terminal commands.
Can I display seconds on an older macOS version?
Yes, following the methods outlined (System Preferences or Terminal) should work across several macOS versions. However, always check for any feature-specific limitations on older systems.
What are some third-party apps for customizing my MacBook clock?
Popular third-party applications include iStat Menus, Itsycal, and MenuWorldTime. These apps provide advanced customization options beyond the built-in system settings.