Foot traffic, spills, and furniture movement gradually wear down even the most durable plank flooring. Without proper care, scratches accumulate, moisture seeps into seams, and surfaces lose their luster. The good news? Simple daily habits and the right cleaning techniques can preserve your floors for decades. Different materials—vinyl, laminate, and hardwood—require tailored approaches to avoid damage. In this article, you’ll learn expert-recommended cleaning methods, preventative strategies, and repair tips to keep your floors looking like new.
Daily & Weekly Cleaning Essentials
Best Sweeping/Vacuuming Techniques (Avoid Scratches!)
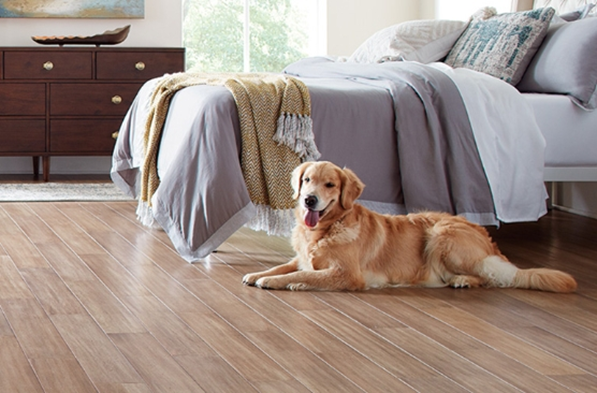
Regular sweeping removes abrasive dirt that can scratch your floors over time. Use a microfiber dust mop or a vacuum with a soft-bristle attachment to trap dust and pet hair without leaving marks. Always sweep in the direction of the planks to prevent debris from getting trapped in grooves. For high-traffic areas, daily quick sweeps are ideal, while weekly deep cleaning ensures no grit builds up. Avoid vacuums with rotating beater bars, as these can dent softer materials like vinyl. If you have pets, focus on entryways and feeding areas where fur and dirt accumulate most.
Safe Mopping Solutions for Different Materials
Mopping keeps floors hygienic but using the wrong technique or cleaner can cause streaks or water damage. For luxury vinyl plank (LVP), damp-mop with a pH-neutral cleaner and wring the mop thoroughly to avoid excess moisture. Laminate requires even drier mopping—spray cleaners directly onto the mop, not the floor, to prevent warping. Hardwood benefits from specialized wood cleaners that won’t strip the finish. Steam mops are safe only for waterproof LVP; never use them on laminate or hardwood. Always dry the floor with a towel after mopping to prevent water spots.
Spot Cleaning Tricks for Spills & Stains
Acting fast prevents spills from becoming permanent stains. Blot liquids (like juice or pet accidents) immediately with a cloth—never wipe, as this spreads the stain. For sticky residues, a dab of rubbing alcohol on a microfiber cloth lifts gum or wax without damaging most floors. Food stains on laminate can often be scrubbed away with a soft brush and mild soap. Avoid vinegar or bleach-based cleaners, which can discolor vinyl and degrade hardwood sealants. For stubborn stains, test any cleaner in an inconspicuous area first.
Preventative Protection Strategies
Preventing damage is easier than repairing it. Place doormats at every entrance to reduce dirt and moisture tracked inside. Felt pads under furniture legs prevent scratches when chairs or tables are moved. Area rugs in high-traffic zones (like hallways) shield floors from wear, but avoid rubber-backed mats, which can discolor vinyl or laminate. Trim pets’ nails regularly to minimize scratches, and wipe their paws after walks to keep mud off floors. In sunny rooms, use curtains or UV-blocking window film to prevent fading.
Material-Specific Care
Vinyl plank thrives with simple sweeping and occasional damp-mopping, but avoid abrasive scrubbers that can dull its surface. Laminate needs gentle care—excess water causes swelling, so always use a nearly dry mop. Engineered hardwood benefits from occasional polishing with wood-specific products to maintain its protective layer. Solid hardwood requires refinishing every few years, but you can extend its life by controlling indoor humidity (aim for 30–50%). For all types, immediately wipe up spills to prevent warping or staining.
Repairing Minor Damage
Fixing Scratches in Different Finishes
Small scratches on vinyl can often be buffed out with a melamine sponge or concealed with a color-matched repair pen. For laminate, use a wax filler stick that matches your floor’s tone—rub it into the scratch, then wipe away excess. Hardwood scratches may need light sanding and a touch-up stain, followed by a sealant. Matte finishes hide scratches better than glossy ones, making them a smart choice for busy households. Deeper gouges might require professional refinishing or plank replacement.
Replacing Damaged Planks (DIY vs Professional)
Replacing a single vinyl or laminate plank is often a DIY job if you have spare pieces. For click-lock floors, carefully remove molding and disassemble rows until you reach the damaged plank. Glue-down planks require cutting out the old piece and adhesive for the new one. Hardwood replacement is trickier, as sanding and refinishing may be needed to blend the repair. If you’re uncomfortable with tools or have extensive damage, hiring a professional ensures seamless results.
Common Cleaning Mistakes to Avoid
Using vinegar or ammonia-based cleaners can break down vinyl and hardwood finishes over time. Excess water during mopping warps laminate and hardwood, while steam mops should never be used on these materials. Dragging heavy furniture without lifting it causes deep scratches. Neglecting to sweep before mopping grinds dirt into the floor, creating tiny abrasions. Over-waxing vinyl or using oil soaps on hardwood leaves a sticky residue that attracts more dirt.
Conclusion
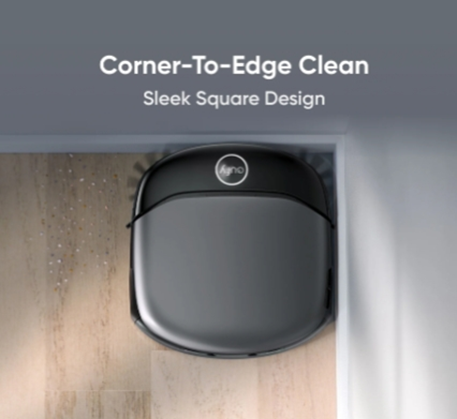
Consistent care tailored to your flooring type prevents costly repairs. Start with daily sweeping, weekly damp-mopping, and immediate spill cleanup. Protect high-traffic areas with rugs and furniture pads, and address minor damage before it worsens. For how to clean vinyl plank flooring efficiently, tools like those from eufy simplify the process with pet-safe, streak-free results.